The remote Desktop feature is one of the best ways to connect with all other PCs. But sometimes, there may be a possibility that you are facing some connectivity issues while using Remote Desktop Protocol (RDP). Here we will glow some points causing this issue and try to fix them if your Windows 10 Remote Desktop is not working.

Well, Remote Desktop Protocol comes with a Windows Pro version that lets you share files and data and provide PC support to the devices linked with it. You can try many alternatives, such as TeamViewer, Splashtop, and more. You can check more options here.
Remote Desktop not working after Windows 10 upgrade
Yes, this can also be an option for not working Remote Desktop on your computer. As with the latest updates, some settings might not be compatible with Remote Desktop PC. We will also cover such things to make sure Remote Desktop works well without any trouble.
Let us try to fix this problem from the beginning, right from the connection procedure to troubleshoot the issue.
Related: How to wake up your PC remotely from anywhere
How to Fix Windows 10 Remote Desktop not working
We recommend you follow the steps in sequence, as we have discussed the most common causes first.
1. Check Internet Connection
Make sure your internet is working fine. Sometimes there is a connected internet network, but it is not working. This problem comes most often when you connect to wifi. You can quickly fix this problem of internet-connected, but not working.
2. Properly Set Up Remote Desktop
I know you are better with connectivity, but some of us may not have connected the Remote Desktop properly. So you must check it first and then try other steps.
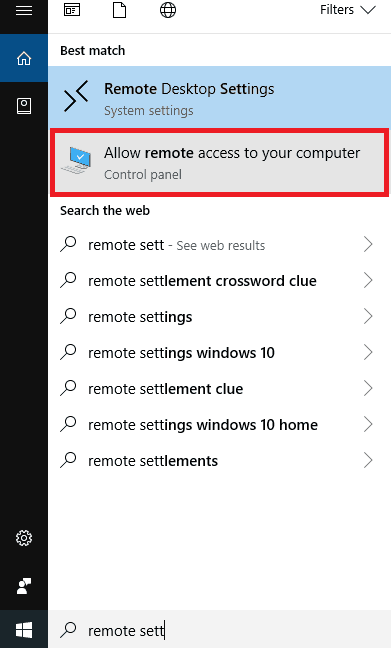
- Type Remote settings on the search space near the Start menu.
- Under the Best match result, click on Allow remote access to your computer.
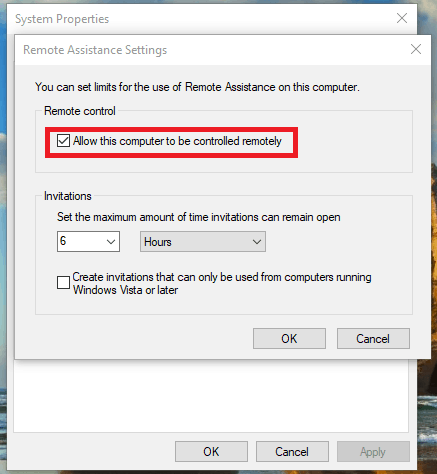
- Now the System Properties appear on the Remote tab; click the Advanced option, tick Allow remote connections to this computer, and check the authentication option.
Now it’s time to have a connection with another computer. There are many options to share the connectivity, such as apps, home networks, and much more. You can choose whatever is convenient for you.
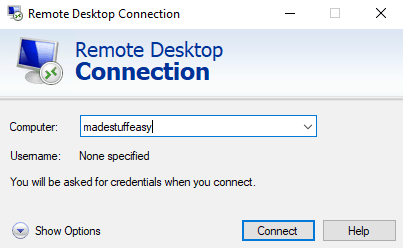
- Now open Remote Desktop on another PC.
- Now enter the hostname and IP address to connect.
- Now enter the login credential set for the above PC to connect remotely.
- If you get any notification of not verified, click Connect Anyway.
Now you are successfully connected to another PC.
Now, if you have followed the same steps above, try some fixes.
3. Stop Using VPN
Don’t use VPN service while using the Remote Desktop feature on either of the computers. It changes your current IP address and may not search for the associated computer.
You can directly turn Off the VPN from the app (if using) or from the default VPN service from Windows PC. Follow some steps here.
- Go to Settings.
- Double tap on Network & Internet> choose VPN from the left panel.
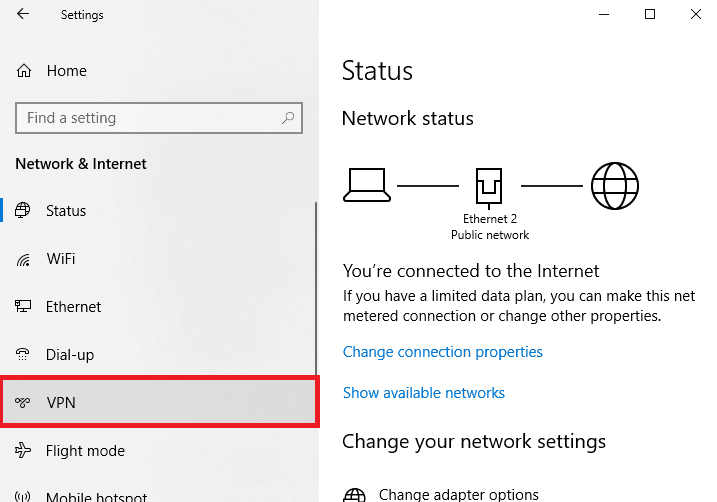
- Check out the list of all VPN connections.
- Tap on the VPN service and select the Remove option.

4. Allows Remote Desktop on Firewall
You may have tried your best to connect the Remote Desktop, but if your Remote Desktop app is disabled from Firewall settings, this won’t work. Follow some steps here.
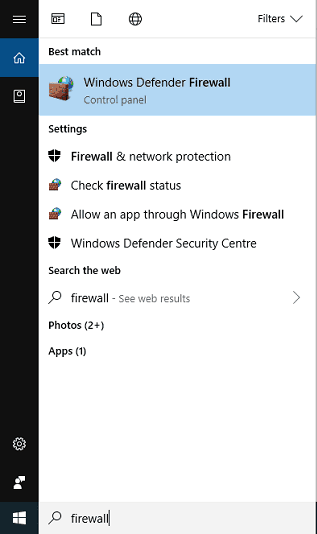
- On a search bar space, type Firewall. Select Windows Defender Firewall from the search result.
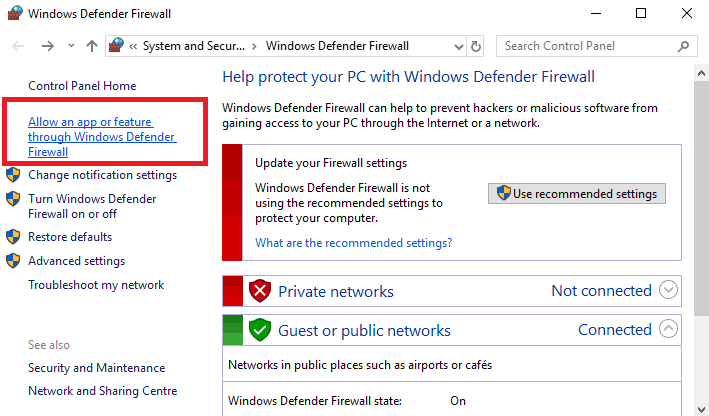
- From the left pane, tap on Allow apps through Windows Defender Firewall.
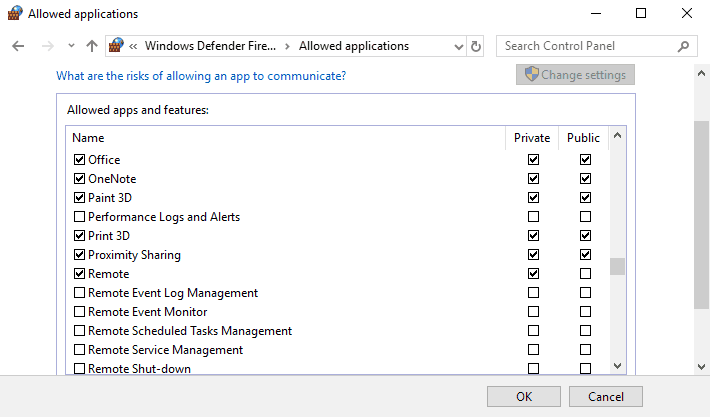
- Here you can check the list of all apps and check for Remote Desktop. If it is not limited, mark this tick and click the OK button.
Now check the Remote Desktop service. If it is still not connecting, follow some more methods to fix it.
5. Allow automatic IP address and DNS on your PC
Sometimes, IP address and DNS are possibly causing the issue. Make sure they are connected to default. To make your IP address and DNS default, follow some steps.
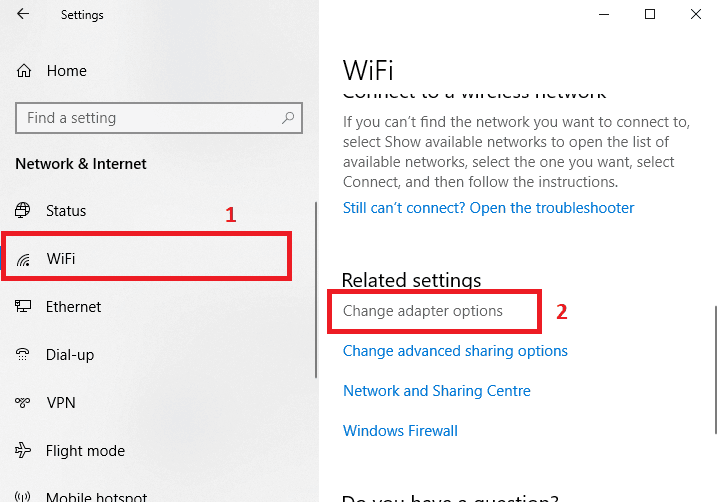
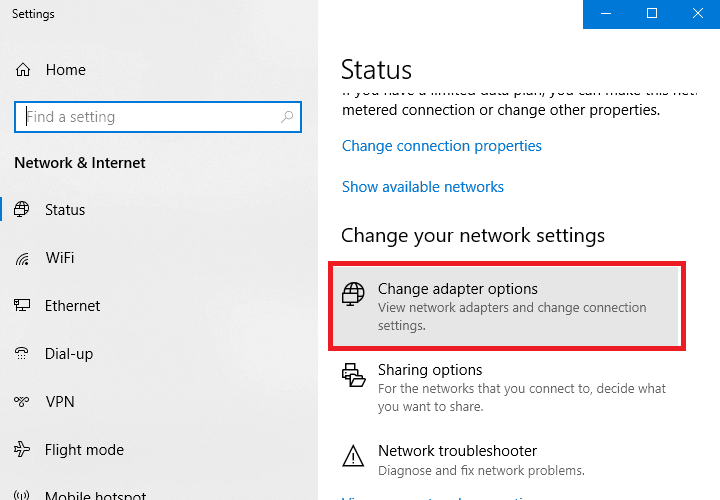
- Open Settings on your PC.
- Go to wifi settings, and under Related settings, tap on Change adapter options.
- Here you can see the different wifi connections. Right-click on the VPN connection you are currently connected with and choose Properties.
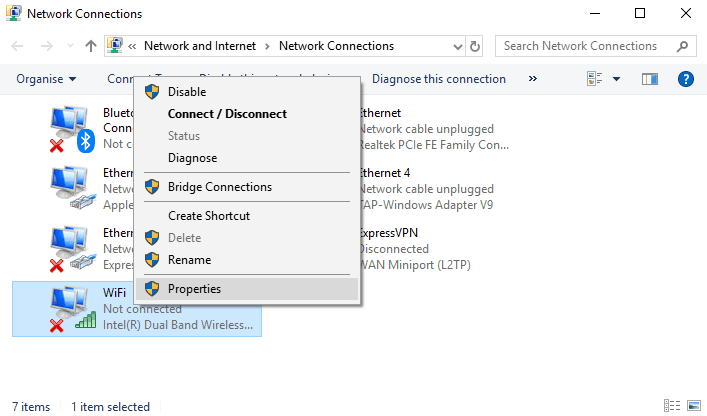
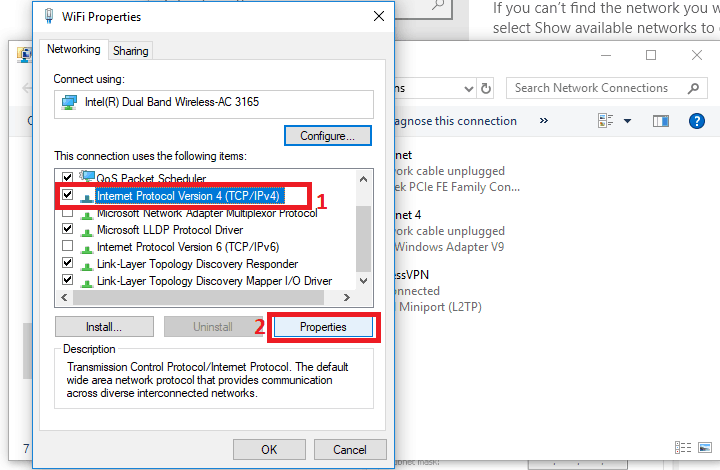
- Scroll the wifi properties, click on Internet Protocol Version 4(TCP/ IPv4), and click Properties.
- Mark both IP address and DNS to Automatic.
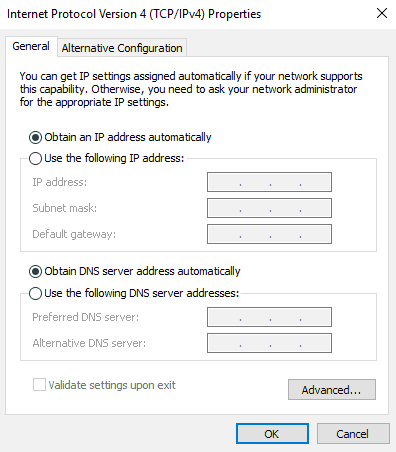
By these steps, your IP address and DNS are automatic, and your Remote Desktop may work fine now.
6. Changes to Windows Registry
There is also an option to fix Remote Desktop through the Registry feature. Don’t make unnecessary changes with Registry files as they have essential control of your computer, and you may lose important files.
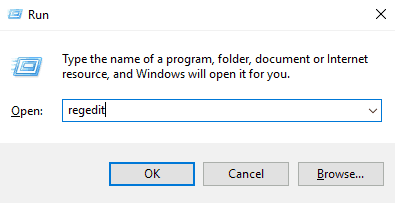
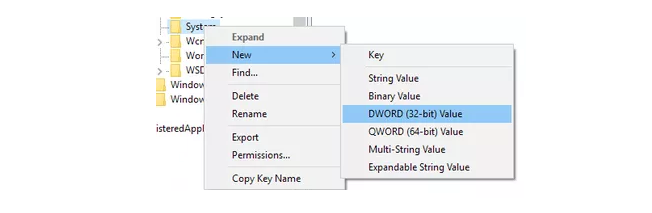
- Open Registry. For this, open the Run command (Win + R key) and, type Regedit, click OK.
- Navigate to HKEY_CURRENT_USERSoftwareMicrosoftTerminal Server Client.
- Right-click on free space and choose New> DWORD. Enter Value data as one and click OK.
Restart your PC and check out the Remote Desktop app.
7. Make changes to Services
There might be an issue with the services of the Remote Desktop Protocol. Make sure you have started the service from service.msc. To check out services, follow some steps here.
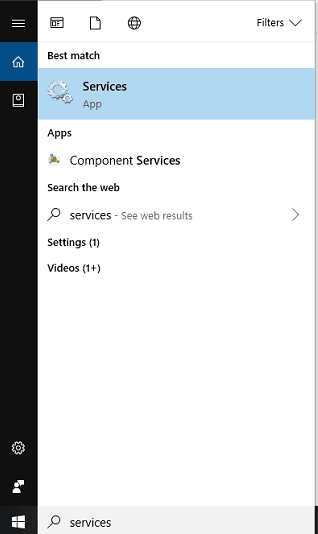
- Type services.msc on the search bar and click on Services from the result on the best match.
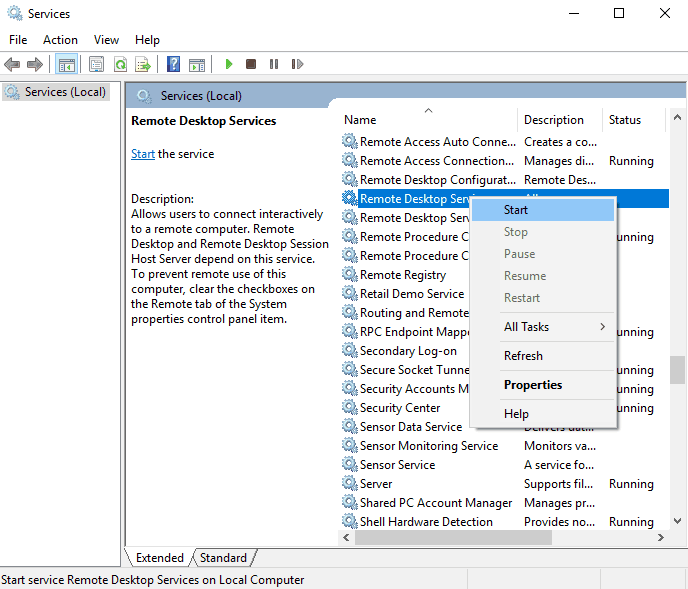
- Check out Remote Desktop from the list. Right-click over it and make sure it is set to Start.
8. Turn Off Custom Scaling
Windows recently provided another great feature, Custom scaling, that gives you customization according to your requirement. But there is an issue with that. Many apps are still not working correctly with custom scaling and may get fixed soon but till now, try to turn Off custom scaling.
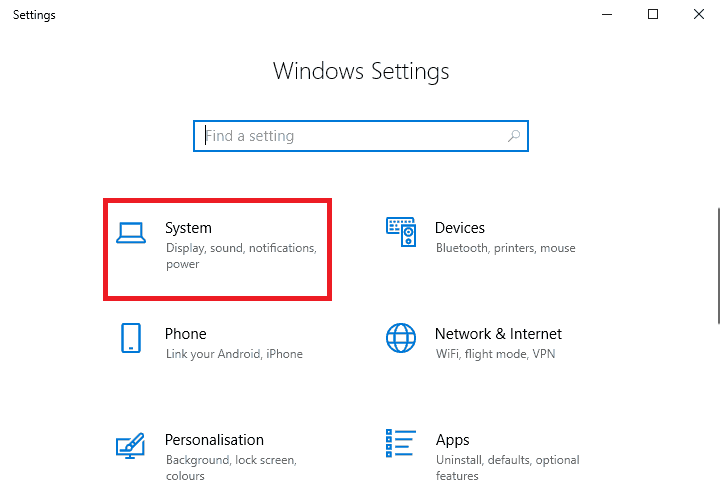
- Open Settings on your PC
- Go to System settings, and here choose the Display option.
- Under Scale and layout, click on Turn Off custom scaling
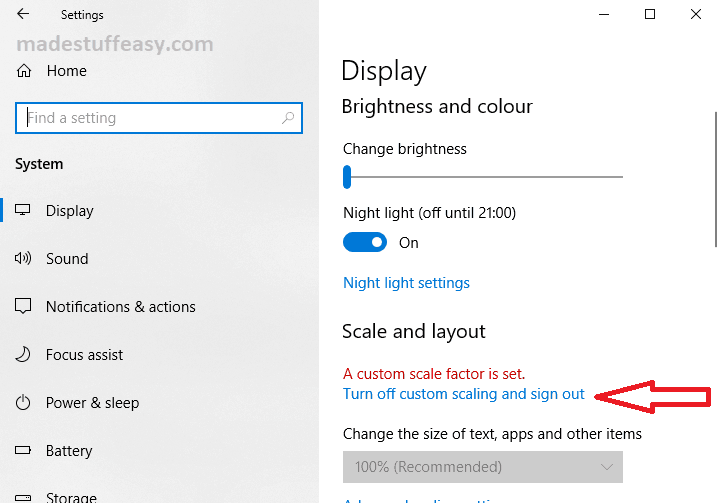
Maybe this was the reason behind not working of Remote Desktop. Once you click this option, it will automatically sign out and restart your PC.
9. Check Network Status (Public/ Private)
Windows offers two types of Network profiles, either Public or Private networks. Private is more common to home networks, and Public links with public wifi, coffee shops,
If your network profile is set to Public, it has more restrictions with other networks to connect with. Turn this to Private so that it better relates to other devices without any limits.
- Open all the wifi networks from the wifi logo on the taskbar.
- Tap on the connected network.
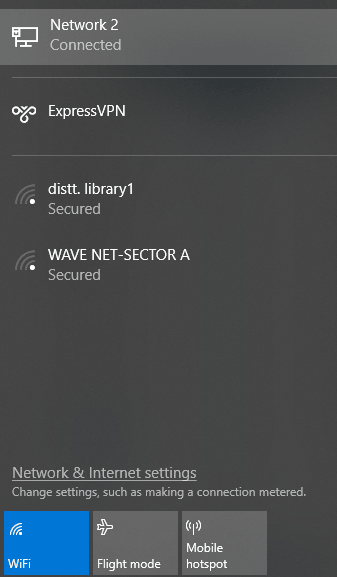
- Under the Network profile, check the Private option.
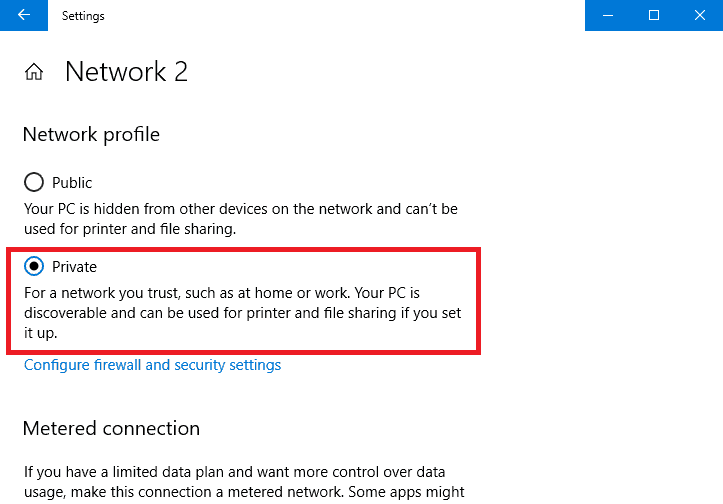
Restart your PC and try to access Remote Desktop.
10. Uncheck IPv6 Protocol
IPv6 protocol is by default enabled when you connect with a wireless network on your phone, and it has been noticed that some applications are not using IPv6 network protocol; it is recommended that you also uncheck IPv6 network protocol.
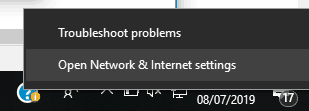
- Right-click on the network on the taskbar and choose Network and Sharing Center.
- Choose Change adapter options from the list.
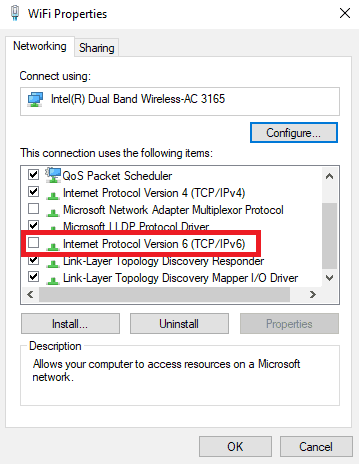
- Right-click on the network you are currently connected with and select Properties.
- Uncheck Internet Protocol Version (TCP/IPv6) and click OK.
11. Use a Third-Party tool
At last, if nothing works, the only way left is to go for a third-party tool to share or monitor your screen. As already discussed, different Remote Desktop tools provide excellent features and secure ways to manage a PC.
I hope you find this tutorial informative and successfully fix the problem. For the latest tech tutorials and online deals, follow us on Facebook and Twitter.
I appreciate your steps, the VPN was causing an error and once i have removed it, now working great!
Thanks for your help…