Apple makes new updates of the iPhone software available for download on a reasonably frequent basis. In addition to at least one major update being released for the operating system each year, there are often a few incremental updates released throughout the year. These updates are typically released to correct problems and improve the system’s security.
You can have your iPhone automatically update itself, or you may manually update it yourself.
If you are looking for automatic updates of the latest iOS on your iPhone or iPad, here is the quick and latest guide for all you are looking for. Apple launches a new version of iOS or macOS when a cloud icon appears next to Settings.

Why set automatic iOS updates?
For maximum protection against hackers and other cybercriminals, it is essential to always use the most recent version available for your device. If you don’t want to lose any data during the iOS update process, it’s also a good idea to keep your phone in sync with iCloud storage.
How to Enable Automatic iOS Update on iPhone or iPad
- Open Settings on your iOS device.
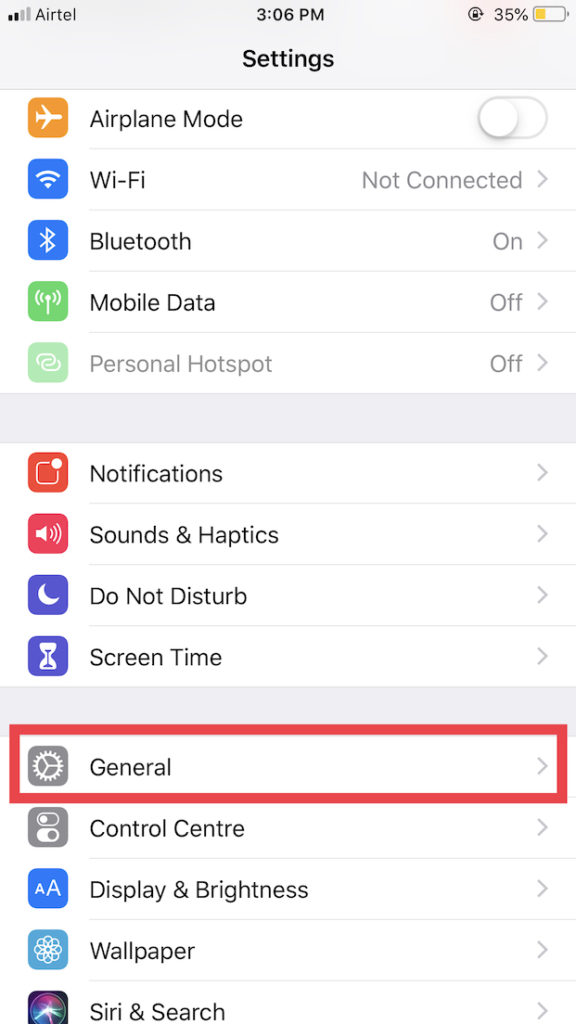
2. Go to the “General” option and choose “Software Update.”
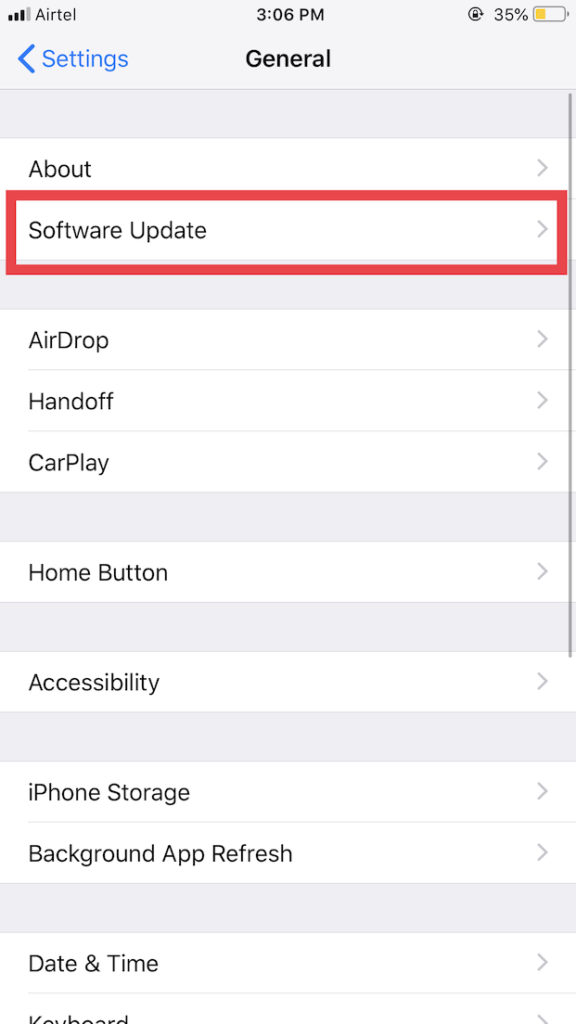
3. Turn on the toggle button next to Automatic Updates.

With these steps, every time the latest release of a new iOS version, your device automatically gets the notification and updates the current iOS version.
You must note that your device must be connected to a WiFi connection and plugged into the charging port for automatic updates; otherwise, the automatic update will not proceed. Similarly, if you are using a Macbook, you can also set automatic updates on Mac.
If you believe that automatic updates are no longer necessary or do not want regular updates, you may disable this option and manually update the device anytime, you like.
Turn Off the Automatic Updates
2. Navigate to General> Software Update> Automatic Update. Turn it Off.
With these simple steps you can disable automatic updates.
I hope this information about How to Update iOS Automatically on your iPhone or iPad helps you greatly. For the latest tech tutorials, online deals, and software reviews subscribe to Made Stuff Easy’s newsletter for regular updates or follow us on Facebook, Twitter
Related Posts:
- How to record screen on iPhone, iPad, iPod?
- Solution: iCloud backup failed on iPhone
- How to use Progressive Web Apps on iPhone?