If you decide to test out Google apps, Google’s Gmail service: We host client websites and their email as a web design company.
From time to time, we have found email to be problematic. It takes up space and uses lots of bandwidth, so we decided to test out Google email on a few of our domains to see if it was something we might roll out to clients.
How to Switch Your Email to Google Email
With the Gmail service, you can still use your email addresses – i.e., yourname@yoursite.com but use Google’s servers to store and transmit the emails, etc.
You may not want to hand your email service over to Google as a business decision, but that’s a different question.
Must See
The switchover to Google email is not particularly difficult. I’ve included some slides below showing how I configured email from the example domain mydomain.com to go via Google’s web servers: The process took 10 minutes from start to finish.
In this example, I’m using WHM to change the domain’s MX and DNS records and configuring MS Outlook to pull emails from the server and send emails via it.
Of course, you might not want to use a pc based mail client – in which case you can just log in to Google email and view using their standard web front-end.
Step 1: First, make sure that you are signing up for the free Google Apps webmail service; it still offers many features, and you can add up to 50 mailboxes.
The signup process is very straightforward.
Simply click the “Get Started” button after entering your domain name in the text box.
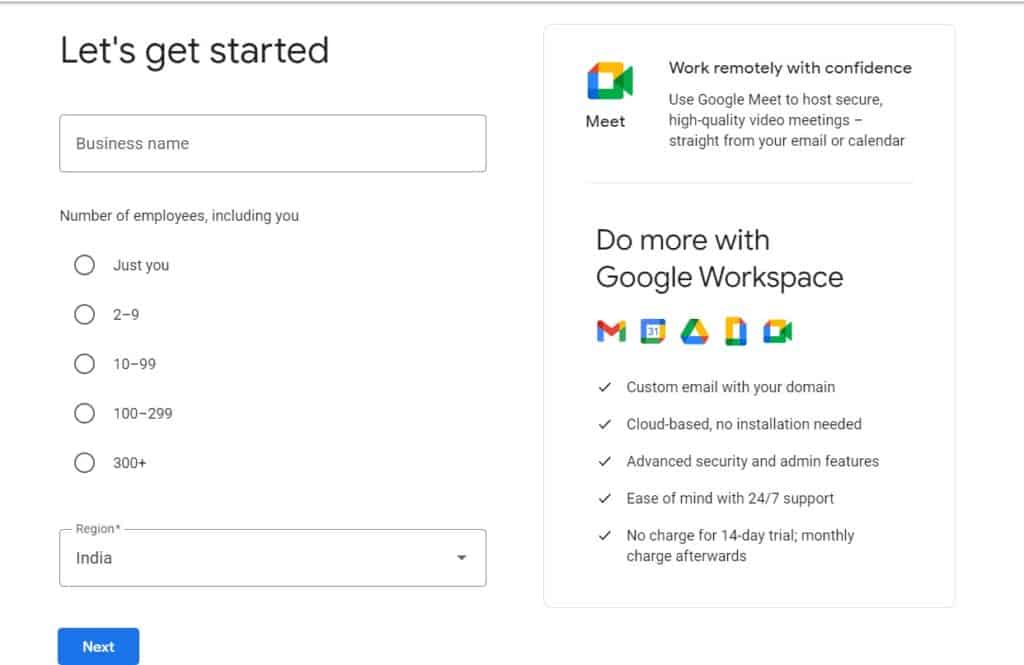
Step 2: Next, you’ll have to give the big G some personal information.
When you’ve filled in your vital statistics, just click continue, and you’ll be taken to the next step, where you create your first administrator account.
You, of course, need to read the small print to make sure that it is only your vital business correspondence that you are entrusting to Google, and you aren’t signing away your house, your soul, or your firstborn.
The next page shows you various information and links to other tabs. Just click on ‘continue with setup guide.’
We’re now in the setup for your domain email, so things are a little more complex here but not overly so.
Step 3: On the following screen, check the box stating that you signed up for “My primary domain where my users receive an email” and click next.
Step 4: Next, you need to verify that you own the domain—there is a splash screen outlining the methods you can use to do this. Click Next.
You then get a choice of 4 options, as shown below. You can add a DBS record if you have access to the domain’s DNS records.
You can link to your analytics account. You can upload a file or add a meta tag to your website’s homepage.
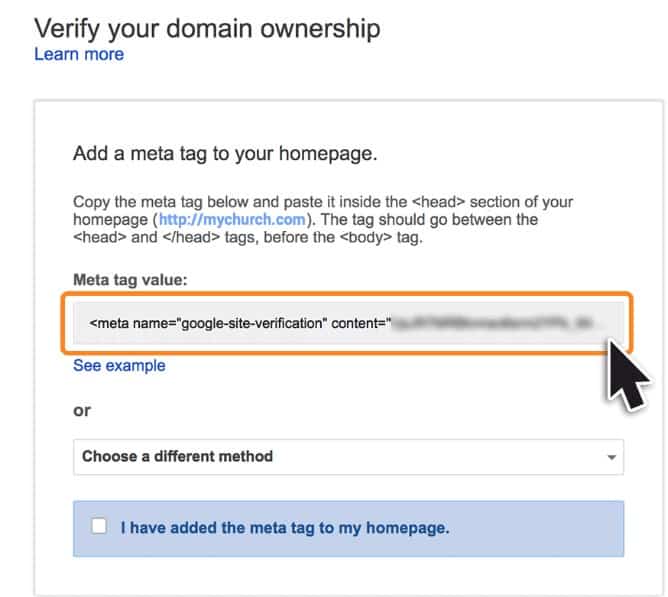
The following screengrab shows that “Add a meta tag” is checked; I changed my mind and decided to upload a file.
When you check the upload an HTML file option, some extra options will appear on the screen where you can handily download the expected file to your PC.
You may download the file from the webpage, open FileZilla, upload it to the root of my website (in this example, the public HTML directory), and click verify. If you click on the resultant link, you’ll see the page on your website.
As of now, that’s all that’s left to do. At this point, we have a Google email account linked to our domain, our first mailbox setup, and we’ve verified that we own the domain so Google email can use it.
In the next post, we’ll look at the next step: telling your domain how to use Google email as your mail server.
So – the next part of our task in moving email traffic away from our server and leveraging Google’s vast infrastructure to concentrate on delivering better web hosting to our website design clients is to point our domain to Google’s mail servers.
The instructions and screenshots below are for the WHM control panel, but any domain control panel should allow you to add and edit DNS and MX records (you might need to look in your hosts or registrars FAQ for the relevant details).
It is essential to add here that you can completely mess up your hosting and make your website unavailable if you alter the wrong records here – so if unsure, it is probably a good idea to have someone do it who knows what they are doing.
So we logged into WHM and clicked on the DNS functions icon on the WHM homepage.
First, we’ll click on ‘Edit MX Entry”—after selecting the domain to edit; you will see the following screen.
On this screen, ensure you select ‘Automatically detect configuration and add the MX entries one at a time as below (if using WHM, of course).
After keying in the above entries, click on save.
The last thing we should do here is adding an SPF record for the domain.
On the DNS Functions page, click on ‘Edit DNS Entry’ and select the appropriate domain from the resulting drop-down menu.
On the mix edit page, we want to add a new TXT record – you should be able to see the new MX entries all in the record; all we need to do is add a new TXT record for mydomain.com with the text ‘v=spf1 include:_spf.google.com ~all’ as shown below – DO NOT alter any other entries as you can mess up your hosting.
If we save the record, then we have completed stage 2.
Our Google email account now receives emails sent to the mailbox we previously set up in Google mail. Thus, we can use the Google e-mail web interface to access our emails and send emails from our domain wherever we are.
Now we’re going to configure MS Outlook to send and receive emails to we aren’t just limited to the web interface (and adverts) that Google email provides us with.
Open up Outlook – click on Tools – Account Settings and then click on the little ‘new’ icon to add a new account. We select the first option and click ‘next.’
Here we add our name and email address, type it in, and confirm the password. Make sure you check the box ‘Manually configure server settings or additional server types,’ or Outlook will go off and try and fail to auto-configure your account. Click ‘next.’
Select ‘Internet E-mail’ and click ‘next.’
On this screen, we need to ensure that the account type is set to POP3, and we may proceed.
Make sure you use pop.googlemail.com to receive any incoming mail.
Outgoing mail server SMTP set to smtp.googlemail.com
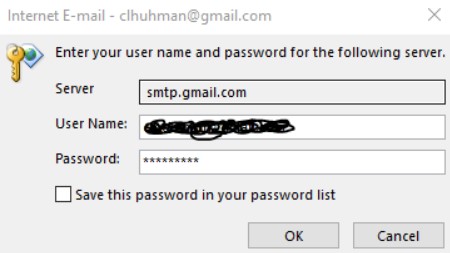
Check to see whether your username and password are correct, and if you’ve saved your password somewhere, you can access it later.
We’re almost there; we just have to tell Outlook which ports to use – click on.’
Select the ‘Outgoing Server’ tab. ‘It is necessary to authenticate my SMTP server before sending messages. Select ‘Use same settings as my incoming mail server.’ Then click on the ‘Advanced’ tab.
Ensure the incoming server is set to port 995, the outgoing to 465; check the box ‘This server requires an encrypted connection (SSL) and select SSL from the drop-down next to ‘Use the following type of encrypted connection:.’
Once you click OK, the only thing left is to run the test.
If we now click on the ‘Test Account Settings,’ we should see the following. You can now send and receive emails on your pc via your website or domain name using Google’s email service.
We moved some sample domains over one month ago to test, which has worked well.
On one domain, twice we had what appeared to be a transient connectivity issue where Outlook said that the server could not be found, but it lasted only a few seconds each time.
So far, we haven’t moved any clients over. We’re still debating whether or not to pass the service over to Google; surely, some people will have a problem with it.
We can forget about our email and concentrate on building websites.
You may also like:
- How to change your Gmail profile picture
- How to create a mail merge in Gmail using a spreadsheet
- How to delete Gmail profile picture
I hope you like this tutorial on switching your email to Google email. Keep in touch with us for more useful information on Facebook, and Twitter.