Although if you do not worry regarding iMessage’s safety and protection, you should install it on your Mac since being able to see and react to all of your messages without needing to stop working and pick up your smartphone is a huge time saver.
You may also communicate using your email account or your mobile number, which is helpful if you want to keep close friends and strangers apart.

Let’s take a look at how to set it up iMessage on your Mac and how to solve any problems that may arise. We ran across a few of these when setting up the iMessage, and they all came to a quick conclusion, so keep reading.
On a Mac, how do I set up iMessage?
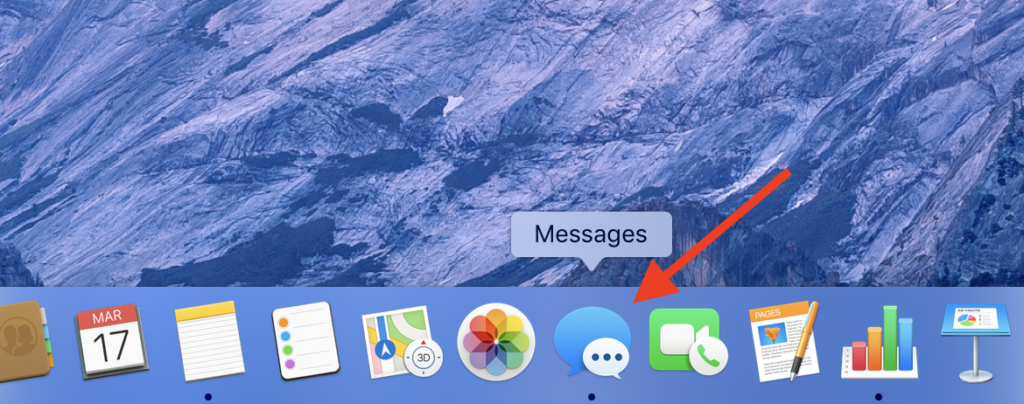
- Go to the Dock to launch the Messages app. You may look for it in the Project directory or search for it if it isn’t there.
- Use the same Apple ID that you use to send iMessages on your iPhone to sign in. Depending on your user’s security settings, you may also be asked to provide a two-factor authentication code.
- If you have the phone contact or email account of the person you wish to contact, you may begin sending text messages immediately.
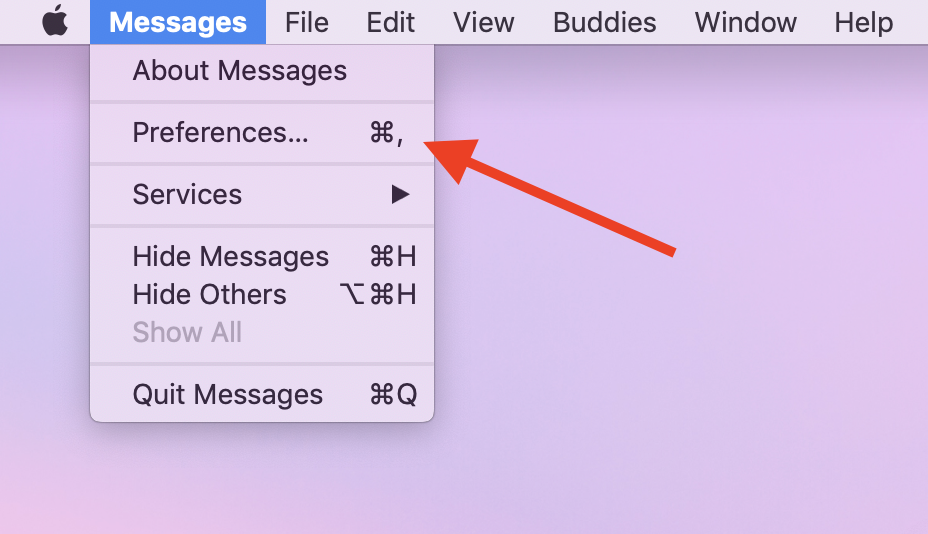
- Select Preferences from the Messaging menu box at the top right of the screen to view your existing chats and have all of your text messages synced across devices.
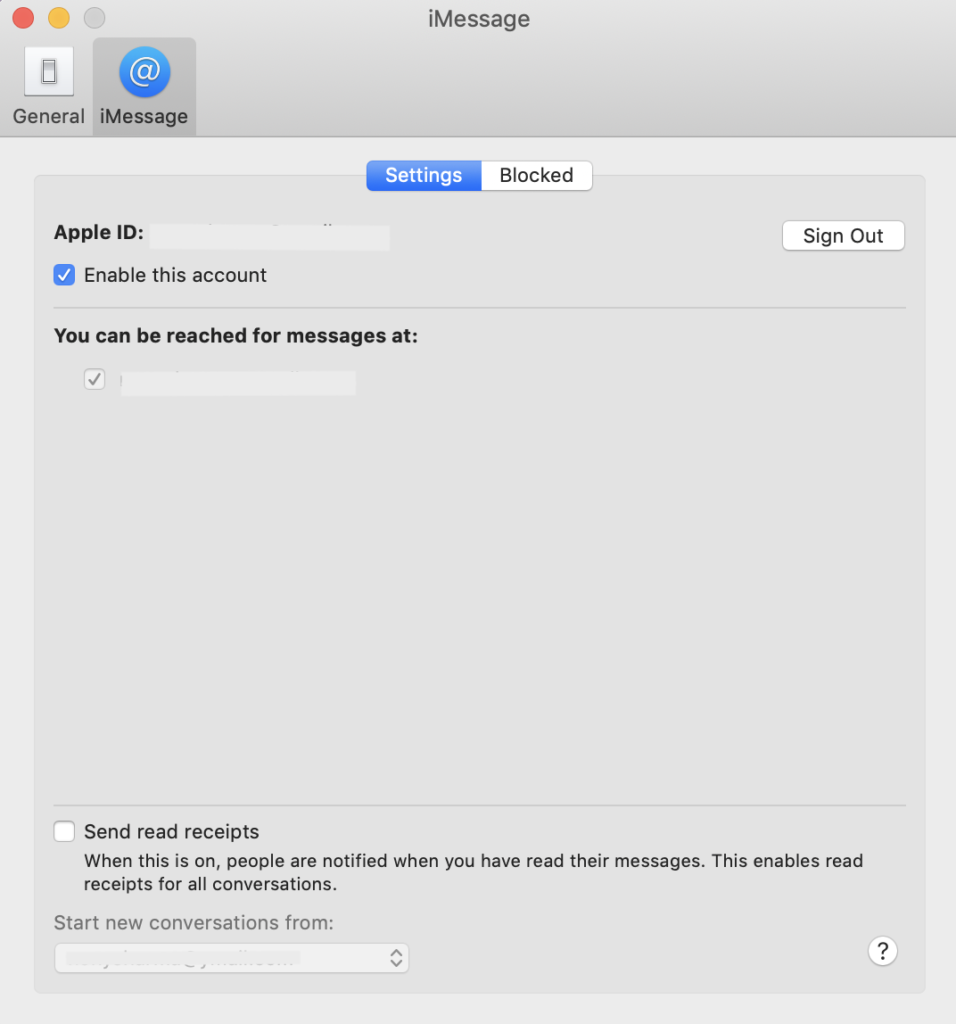
- Switch on Allow Messages in iCloud from the iMessage tab. If you don’t see this option, even though you’ve allowed it somewhere, you’re good to go.
- On this Mac, choose the people you wish to receive SMS from. You’ll see all the telephone numbers and email accounts that people may text you at under the heading. You can be contacted for messages at.
- Finally, choose which one of those numbers/addresses you wish your Mac’s text messages sent using the Start new discussions from the drop-down menu.
Set up the app by syncing it with your Apple ID.
All your existing text chats should synchronize with the Mac when you restart the Messages app. You’ll have to connect to your Apple ID in the Settings Screen app if you want your contact to Sync.
You can also disable iMessage if you no longer require messages to display on MacBook.
Once you’ve done so, ensure that message syncing on your iPhone or iPad is turned on.
- Launch the Settings app on your iPhone or iPad, depending on which device you use to send texts.
- Access the Apple ID menu by tapping your name at the top right of the screen choosing iCloud.
- Verify that Messages is turned on in the iCloud menu.
Take a look at all of the capabilities available in iMessage for Mac.
Let’s look at all of your capabilities now that you understand how to link iMessage to your Mac.
To begin, you may make individual chat notifications invisible. On the pop-up menu, choose Hide Alerts. Click the I symbol in the upper right-hand corner to mute the thread you wish to mute.
You may quickly mute or remove a communication by sliding left on your trackpad.
You may also respond to receiving messages by tapping the response bubble next to the message, just as you do on your phone:
Configure your iPhone or iPad to share iCloud messages.
While you already know what to do to Sync iMessage with your Mac, you must first set up iMessage synchronization with iCloud.
Here’s how to accomplish it step-by-step:
Open Message application on your Mac and follow the step
Go to Settings > Messages on your iPhone and turn on the iMessage feature.
Click on your user name at the top of Preferences to enter the Apple ID panel, then hit iCloud and ensure the Messages is button toggles on.
Allow the texts to sync by connecting your phone to electricity and the internet.
You no longer need to use cloud storage to back up your data. You can back it up to your iPhone on your Mac.
AnyTrans is a data transfer manager that allows you to transfer files between your iPhone and your Mac smoothly. You may also transfer data from an old Android to your latest iPhone or a cloud storage account.
The program also helps handle iTunes and iCloud material, allows you to plan backups, and even backs up communications from major messaging networks like WhatsApp.
Quickly troubleshoot iMessage problems.
Even if you understand how to attach Messages to a Mac, you may make a few errors. Let’s look at some quick changes to see if they’ll help.
To begin using and setting up iMessage, you’ll need a decent internet connection. Your WiFi connection must be flawless to sync all of your communications, particularly if you have a lot of video or picture exchanges.
Restart your Mac if your messages haven’t shown after synchronizing everything.
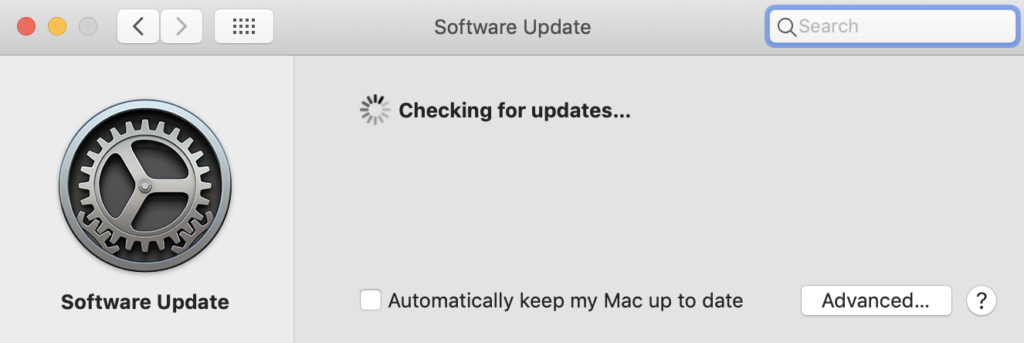
Next, make sure that your Mac & iPhone/iPad is updated. To check for the latest update availability on a Mac, go to Apple menu > System Preferences… > Software Update. Go to Settings > General > Software Update on your iPhone or iPad to see what’s new.
Go to Settings > Messages > Send & Get on your phone to send and receive text messages. If you still can’t view your messages on your Mac, double-check that the time and date on both devices are correct and that the Apple ID you’re using is the same. Also, check that your Messages phone number and email address are the same on both devices by opening Messages from your Dock and going to Messages > Preferences > iMessage.
You must also activate that feature on your device for iMessage to operate. Toggle iMessage on by going to Settings > Messages. It would help if you also had iCloud Sync turned on, which you can go to Settings > Apple ID and ensure that Messages is enabled.
Even if you’ve tried everything else, things don’t always work out. Disabling and re-enabling your Apple ID login in Messaging on Mac is one easy option. That’s how to receive messages on your Mac if they’ve not yet synchronized after you’ve set them up:
- On your Mac, launch Messages.
- Go to Preferences… by clicking on Messages in the Menu bar…
- Activate the iMessage tab on your browser.
- In iCloud, uncheck Enable Messages and then recheck it.
The Sign Out option is located above Sync Now and will assist you in logging from your Apple ID. To work out any bugs in your setup, use that to sign from your Apple Account and afterward sign back in. You may also try hitting the Synchronize Immediately button on the iMessage page, but it didn’t work for us.
Now you’ve successfully installed iMessage on your Mac! You now know how to synchronize your messages to your Mac, manage your chats, respond to and react to texts, and even back up conversations to your Mac utilizing third-party tools like AnyTrans.
A solid connection is required to utilize iMessage and other messengers; WiFi Explorer may be a valuable tool for analyzing and monitoring your connection.
Check out how you can turn off the read receipt option to not let the person that you read a message.
For the latest tech tutorials and online deals, follow us on Facebook and Twitter.