It’s important to keep certain data private at times. This guide will teach you how to set up a Windows hidden folder.
Even if you have a lot of personal information on your computer, it’s important to keep it hidden if you’re with someone else.
Here, you will learn how to conceal files and folders in two alternative ways: using File Explorer and Command Prompt.
Must See:
Using File Explorer, you may hide files and folders.
Using File Explorer to hide your files or folders on Windows is easiest.
- You may accomplish this by using the file explorer or Windows Explorer.
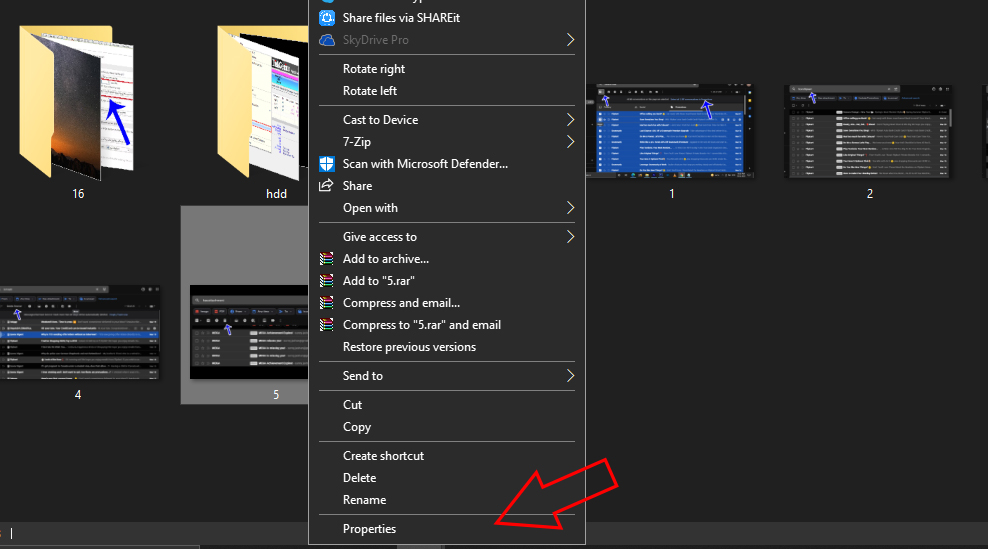
- To conceal a specific file or folder, pick it from the list.
- Select Properties from the context menu when you right-click on the file or folder you wish to hide.
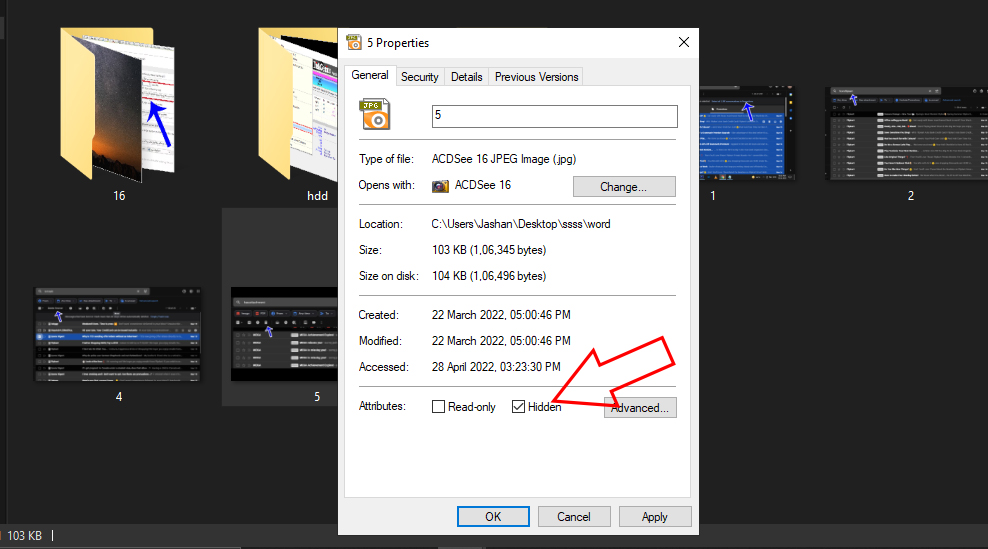
- Under the General tab, check the hidden box. Now click OK or Apply to make your file hidden.
How to view Hidden Files and Folders
- Open-File Explorer or Windows Explorer. Now Go to the View tab and then select Hidden items. By this, you can easily view your hidden files.

Folder Lock
In the eyes of the industry, Folder Lock is one of the most highly regarded and comprehensive encryption programs.
Many additional security options are available for your folders with Folder Lock, including the ability to password encrypt your data and save them in a secure online backup account. Additionally, it features a comprehensive collection of data protection solutions that cover all of your security needs.
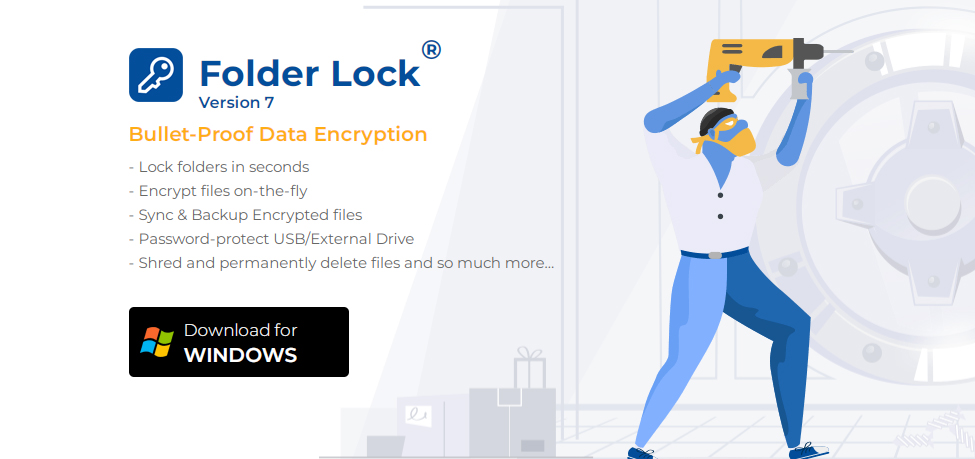
There are seven strong capabilities included in this program that cover all aspects of data security: locking files, encrypting files, securing backups, protecting USB/CDs, creating wallets, shredding files, and cleaning the history of your computer.
Windows-based PCs can use Folder Lock, while Android and iOS devices can use the Folder Lock mobile app.
It’s a one-time payment for the software. If you want to give it a go, there’s a free trial period available.
The following are just a few of our favorites:
- Advances in technology and speed Encryption using a 256-bit AES key
- Using drag and drop, you can safeguard your files quickly and easily.
- All the data is saved on a server that can be accessed by all workers on a Networked Online Backup.
- You don’t have to unlock locked objects every time you want to run them since you can just drag and drop them into place.
- Backup, restore, and sync data across many PCs using Wallet Encryption.
Folder Lock’s online backup function is a genuinely novel and valuable tool. Multiple PCs may share your data through synchronization.
Hide Files and Folders using Command Prompt
- Type Command Prompt or cmd in search tab next to start icon in Windows 10 or if using earlier Windows Go to Start icon and Search there.
- Enter the below command
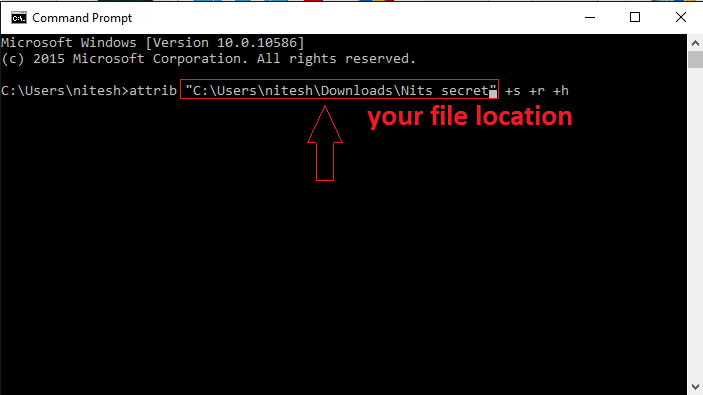
Attrib “Your File/Folder Location” +s +r +h and press Enter.
Here enter your File/Folder location inside Quotation marks (See the below screenshot). Now your File/Folder is successfully made hidden.
Making hidden files and folders visible again
- Type Command Prompt or cmd in search tab next to start icon in Windows 10 or if using earlier Windows Go to Start icon and Search there.
- Enter the below command
Attrib “Your File/Folder Location” +s +r -h and press Enter.

Now your Hidden File/Folder is Visible again.
IObit Protected Folder
IObit provides industry-standard services to safeguard your assets if you require a powerful locker for Windows 10 folders.
Folder Security is essential for protecting sensitive data on your computer. In order to preserve your privacy, you may use software like this.
With IObit’s Data Locker, users can protect their folders against malicious assaults and keep their data safe in the event of a ransomware attack.
To keep safe in this fast-paced information age, it is recommended that PC information be secured using folder protection.
IObit offers the following features:
- Powerful password-protection tool for your data
- An additional level of security to safeguard your data.
- Optimized engine for a protected folder.
- New folder locking options have been added.
- Protection against data loss or leakage
You may like:
We hope you like this tutorial to create a hidden folder in windows. You can follow us on Facebook, and Twitter.