The days are no longer when we transfer the files using Bluetooth sharing. This was among the first methods to transfer files which consume a lot of time even for some MBs. Now there are many ways that work really well and transfer huge files in seconds. Here we are going to list three different ways to share files between computers on Windows 10.

You can easily transfer videos, pictures, files, and folders using any of these features. Since there is not any particular option available on Windows PC like Airdrop on MacOS, but still some options like Nearby Sharing, HomeGroup, and other.
Here in this tutorial, we are following below three ways to share files on Windows 10 PC.
- How to share files using Network (File Explorer)
- How to share a file using HomeGroup
- How to share a file using Nearby Sharing
How to share files between Computers in Windows 10
METHOD 1: Sharing Files between Windows PC using Network
Since this way is better known for sharing files, pictures using File Explorer. This is one of the easiest ways that you can use to transfer files. Follow some simple steps below
Step 1: Open file
The very first step is to open the file you wish to share with other Windows PC. Here you can choose any type of file and folder.
Step 2: Go to Properties of file
Right-click on the file you want to share and click on Properties.
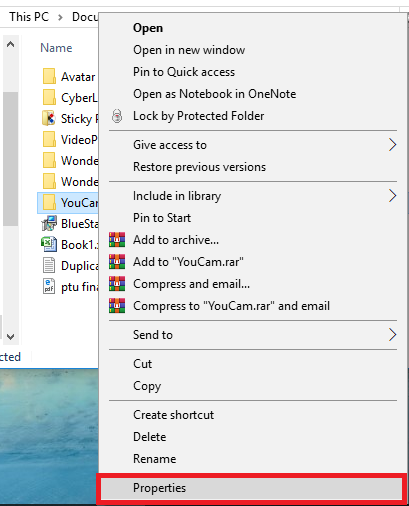
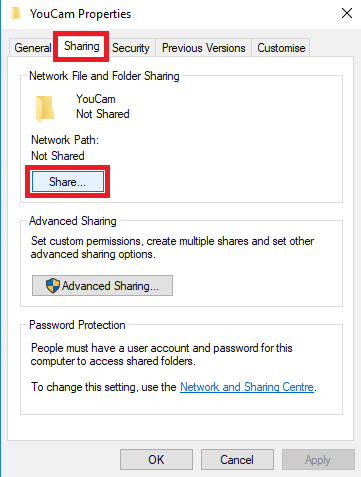
Step 3: Choose Sharing option
Now under the Sharing tab on the window appears, tap on share button.
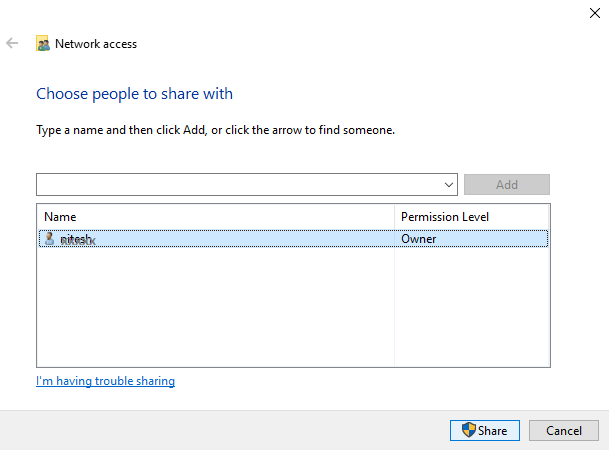
Step 4: Choose people to share with
On the next window, choose Everyone from the drop-down list under choose people to share with. Now tap on the Share button.
NOTE: From the drop-down list choose Everyone.
With these
METHOD 2: Sharing Files on Windows 10 PC using HomeGroup
HomeGroup is another easy way for sharing files, folders to another Windows PC. It has some limitation as it is only available to share for the computer connected with your computer. To proceed with this option, firstly you have to create HomeGroup network, join the HomeGroup, and then sharing files to joined HomeGroup PC. Let us check it step by step.
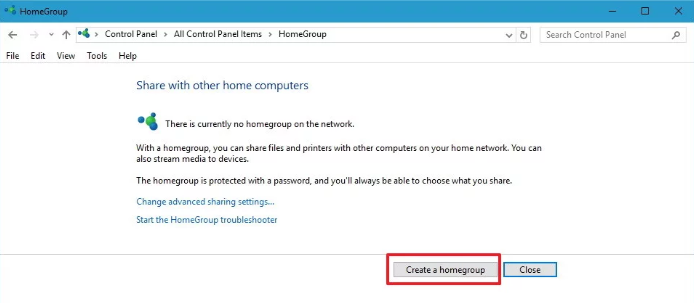
Step 1: Creating HomeGroup
If your PC is already connected to HomeGroup network then you must see Join Now option otherwise follow some steps to create a new HomeGroup network.
- Open Control Panel and navigate to Network and Internet> HomeGroup. Tap on Create a homegroup option.
- Tap the Next button and follow the instructions ongoing on screen.
- On the next step, you have to assign permission to allow to share with other homegroup members. Click Next.
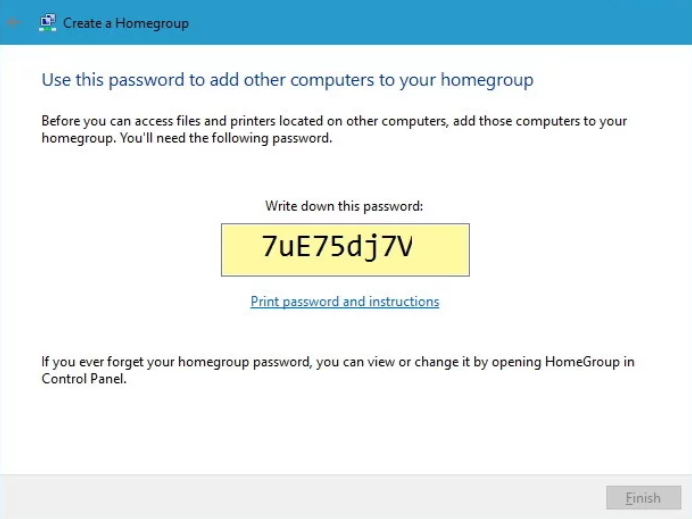
- On the last page, the password appears, make sure you have noted is careful as it will be required to connect the same HomeGroup with other computers. Tap Finish option.
Step 2: Join other Computers to same HomeGroup
Now the next step is to join all other PC to the HomeGroups you just have created. Follow some steps below.
- Open Control Panel. Navigate to Network and Internet> Choose homegroup and sharing options.
- Here you see the current HomeGroup network created. Click on a Join Now option.

- After this, enter the password you have noted while creating homegroup and click Finish.
Now you are ready to share files and folders with all associated computers to your HomeGroup network.
Step 3: Share files using HomeGroup
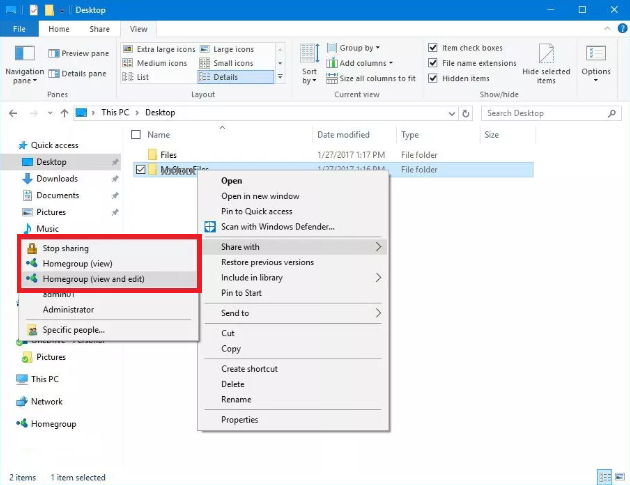
- Open the file/ folder on File Explorer.
- Right click on the file you wish to share with other PC and tap on Share option. From the next list either choose Homegroup (view) for read-only and Homegroup (view and edit) for reading & writing both.
By these steps, you can share any files using HomeGroup network. You can also allow only specific people in HomeGroup network sharing. For this navigate to Share> Specific people…
METHOD 3: Transfer file using Nearby Sharing Feature on Windows 10
Another option that is in-built from Windows 10 is using Nearby sharing feature. This feature requires wifi or
Step 1: Manage Nearby Sharing
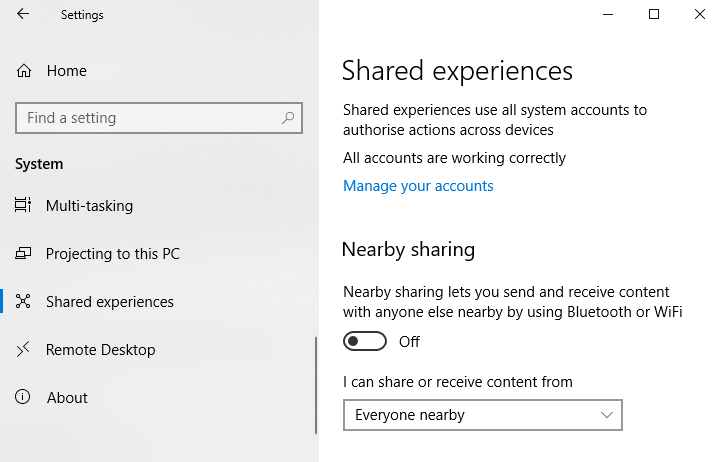
The first step is to turn on the sharing option on both devices from where you have to sent and to where you wish to receive. For this navigate to Settings> System> Shared Experiences.
Step 2: Enable share or receive
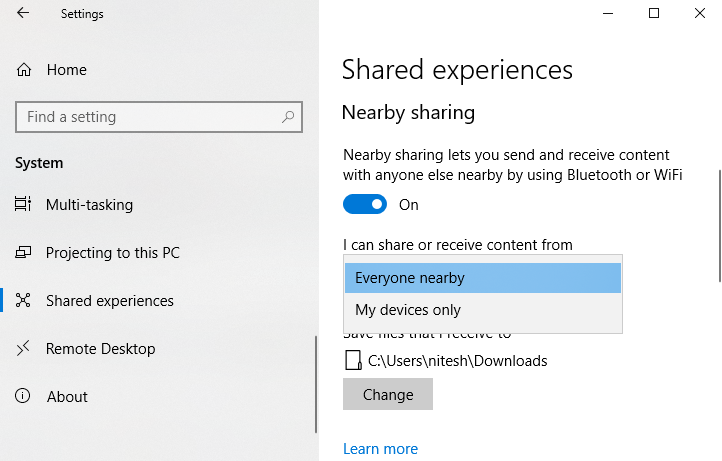
Below Nearby sharing option, choose Everyone nearby option from the drop-down under I can share or receive content from.
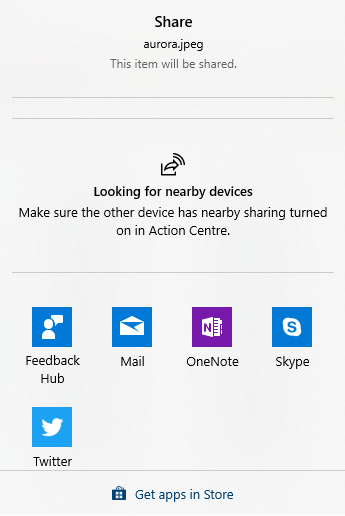
Step 3: Share file
Head-on to the file you need to share with other PC. Right-click on the file and tap on Share option. Now your PC look for all nearby PC and show the result. Tap on the name of other PC.
Step 4: Allow PC to receive file
On the receiver end, accept the request of receiving file. It took some time and once the process gets completed you can Save & Open it on PC or just Decline option.
Well, these are the 3 best ways to share files between the Windows 10 PC. All above are working well with the latest version of Windows 10. You can try any of the above methods to transfer files.
I hope you find this tutorial about How to Share Files Between Computers on Windows 10 useful and informative. For