Printing and faxing may be inconvenient and time-consuming. We’ve all been in that situation… 1 min before we need it, stuck trying to find out how to sign a paper digitally. On Apple devices, here’s how to swiftly sign a document.

Signing papers on your computer is the most convenient method. You must grab the appropriate document, sign it with your finger, and then email or print it.
It’s a simple procedure, but if you use a Mac, you can be signing your papers incorrectly.
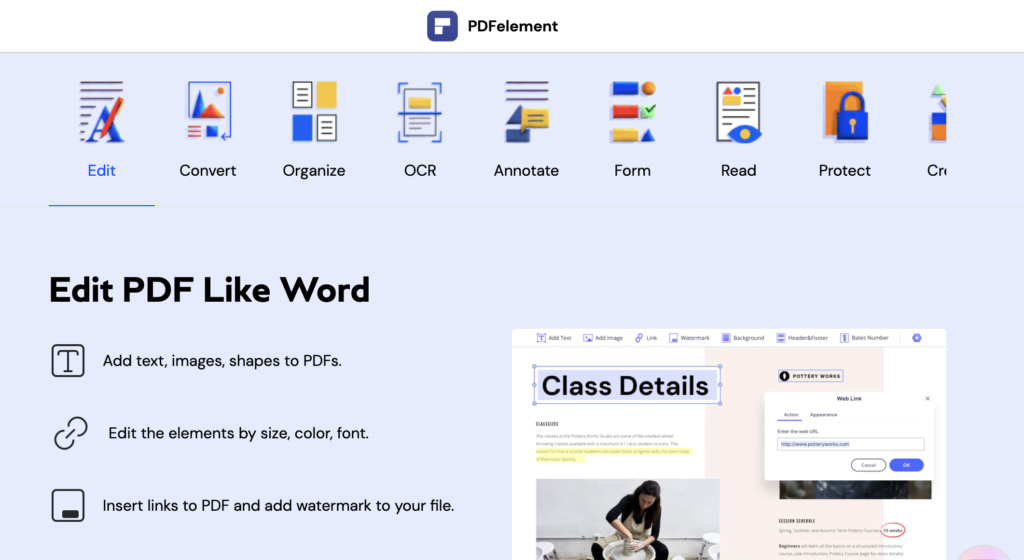
You could sign critical documents like lease agreements or taxes using third-party software such as PDFelement or Nitro Pro, but there’s a more straightforward method.
Using the Preview program, including macOS, you can sign almost any file in seconds.
What are the benefits of e-signatures?
Digital signatures are ideal for remote teams and contracts with parties spread out across the globe. They may also save you a lot of time and money. Less time wrangling documents and more abundant energy implies less effort in juggling papers and more creative time.
With digital signatures, you can become paperless.
Allow your trackpad or mouse to perform the job instead of your pen. Electronic signatures allow you to sign PDFs & documents directly from your smartphone, eliminating the need for paper.
You may fill out all your documents and email them from your smartphone or computer, whether you’re signing a rental contract or filling out a W-2.
Make your signature unique.
You may draw and use a digital pen to make signatures or choose a hand-drawn design from the drop-down menu and write your name. You can rapidly pick and apply a signature to any section of your paper that fully reflects or initialed after you’ve created one. Your signatures will be retained for future use, allowing you to review new documents and send them out quickly.
How to Create a Digital Signature in Preview?
The first stage is to add your signature to your Macintosh, which you can do from inside Preview. To begin:
- In Preview, open the item you wish to sign.
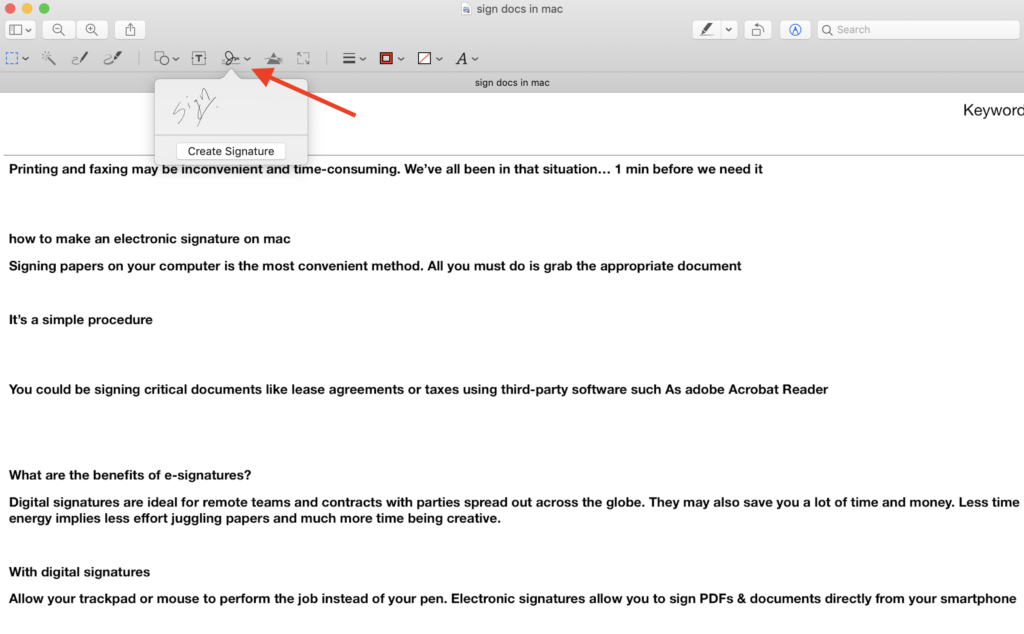
- From the drop-down list, choose the Mark – up symbol.
- Then, choose the Signature option.
- Make a signature by selecting Create Signature.

Your signature will be synced using your iCloud account and visible in Previewing on any Mac where you’ve logged in with your Apple ID.
To produce a digital replica of your signature, you have three options:
Trackpad: If you wish to write your signature on your Mac’s touchpad using your finger, use this option.
Camera: Sign a document and then bring it up to the camera of your Mac. Preview will identify and scan your handwriting.
iPad/iPhone: Choose this option to enter your signature on a device connected, such as an iPhone or iPad.
On a Mac, you may create electronic signatures using Microsoft Word.
Microsoft Word isn’t available on the Mac platform. As a result, unlike a PC, it does not establish electronic signatures or digital licenses on the device.
On the other hand, users frequently use Word to sign a paper on Macs by attaching signatures as images to the document. Do you find it perplexing?
The step-by-step instructions below will show you how to use Microsoft Word to establish electronic signatures on a Mac.
- In Preview, open any document. Make sure there’s a lot of white space in the backdrop.
- Using the procedures outlined in Preview, place your current signature in the document’s white area.
- Using the Shift+Command+4 keyboard shortcuts, take a screenshot of the signature. Crop your signature by holding and pressing the crosshairs around it. That image should be saved.
- In Microsoft Word, open the documents you want to sign.
- Select Insert > Pictures > Picture from File from the taskbar. Upload the signature screenshot you just saved to your Word document by selecting it.
- To access the Picture Format tab on the ribbon, click on the image. To adjust your signature, go to that tab, click Crop, and drag it to the desired spot.
- To enter the text behind the photo, return to the Insert tab and choose Auto text > New. Keep in mind to select both words and pictures.
- In the window, type the name of your signature. When you’re finished, click OK.
How do you put your signature into a PDF file?
Now that you’ve completed the setup, your signature will be stored in the system, and you’ll be able to check how quickly you can sign papers in Preview.
Open your document in Preview and repeat the steps above, only instead of clicking on the signature icon, tap on your signature.
A little box with your signature will appear in the document, which you can move around and resize. You may save and share the paper once you’ve queued up your signature.
How long would it take to open a file and click the relevant tabs to add a sign, and it took me under a minute, including adding the date in Preview by clicking the add text button.
PDFelement allows you to keep track of all of your papers.
You can handle signatures and track their progress using PDFelement Pro, whether you’re signing papers or mailing them out for signature.
PDFelement is among the best PDF editor for Mac.

PDFelement supports all of your displays, so you can remain productive wherever you are, whether on your desktop, iPad, Macbook, or an iOS device like an iPhone.
Along with signing yours. Document there are multiple features in a PDF editor. You can easily edit any PDF.
This article has shown you how to make electronic signatures on a Mac using either Preview or Word.
If you shared a Mac and want to keep your signatures safe, you should erase the ones supported by default in Preview.
For more tutorials & software deals, you can follow us on Facebook and Twitter.