Don’t get panic if you lose your important folder, file, or a family photograph. With this digital world, everything becomes possible and simple too. There is many best free data recovery software that makes your work easier to get back your lost file. By mistake, you have deleted your data, or someone else has deleted your data but with data recovery software you can easily trace all your data.

How Does Data recovery software work?
Let us make one thing very clear that no data recovery company ensure to recover your 100% data, but the probability is that you can get back data. It is important to understand how recovery software works. Take an example, suppose you are walking on sand and your footprints left behind, similar is the case when something gets deleted from your PC the traces still left and from that traces the recovery software gram your lost data.
There is so many top quality data recovery software when you search online. But the question arises which is better among all. Let us see the best data recovery software that you must try this year to recover your lost data back.
- Must see: 2 best ways to unlock password protected PDF file
- 2 best ways to restore accidentally deleted files on Windows 10
What data does Recovery software recovers?
Recovery software recovers all your deleted data, corrupted data, from your Hard Drive, hard disk, from your PC, Mac, and from your USB drive. You can also recover USB data using cmd.
Top Best Free Data Recovery Software for 2020
1: Recuva

Recuva is one of the finest and free data recovery tool that offers you to extract the lost data from all major areas such as pen drive, hard disk, PC files, and much more. Recuva is the product from Piriform that is well-known software company known for optimizing your devices.
One feature that I personally like about Recuva that it traces the data even from rewritable discs, drives no matters how often you have transferred your data. Let us see what Recuva offers
- Advanced file recovery
- Disk damage recovery
- Smart deep scanning for buried files
- Easy to use software with easy panels
- Secure delete feature
- Easy access to file after recovery
How to use Recuva software?
Let us see the quick tutorial how you can recover your file using Recuva.
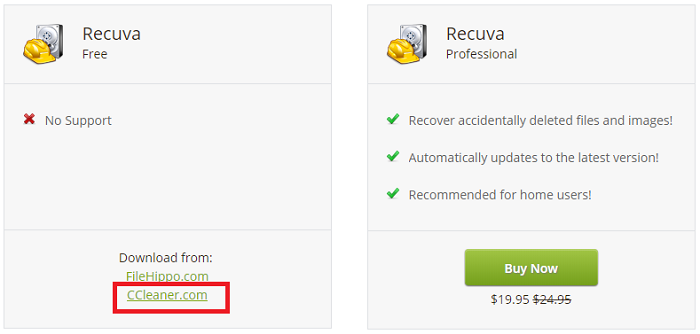
STEP 1: Download Recuva free version. As Recuva also comes in a paid version with some more features but you can go for the free version to recover your data from pen drive, computer.
STEP 2: Once download process gets completed launch Recuva.
STEP 3: Now the wizard will be shown at startup if you don’t need this help then simply click Cancel option.
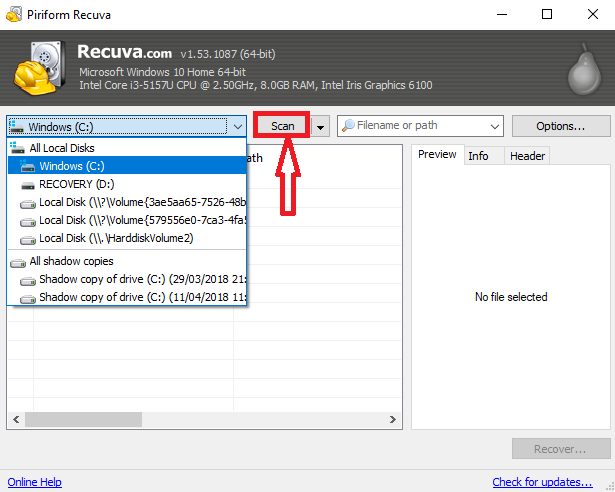
STEP 4: Now select the Disk you want to scan where your lost data was stored. And click Scan button. It must be noted that this is quick scan, If you need to Deep scan then follow next step.
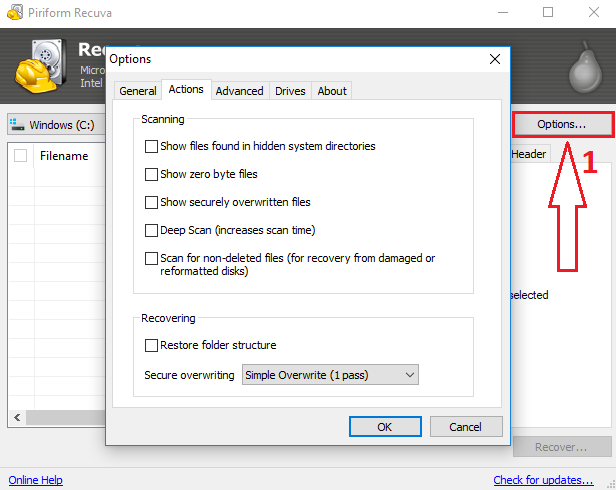
STEP 5: Click on Options button, and select Actions tab. Here you can select different options such as Deep scan, Show securely overwritten files, show files in hidden directories, and others. Click OK button and start scanning again.
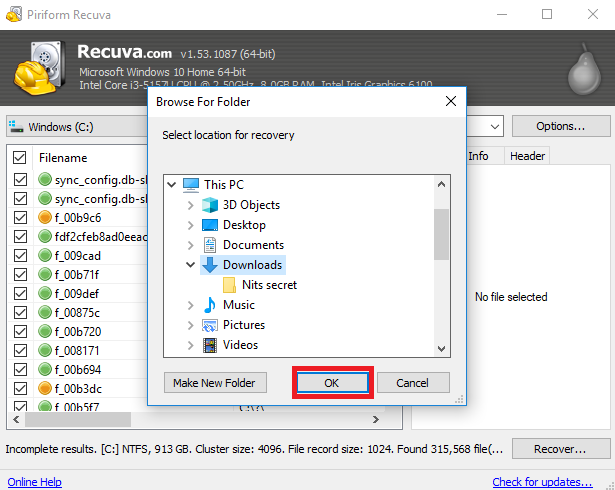
Once the scanning completed you will see the red and green marks are there. Red is partially recovered and green is fully recovered.
STEP 6: Select the file name and hit Recover button below. Select the folder where you want your recover data.
By these simple steps, you can easily get your lost data back.
2: PC Inspector File Recovery
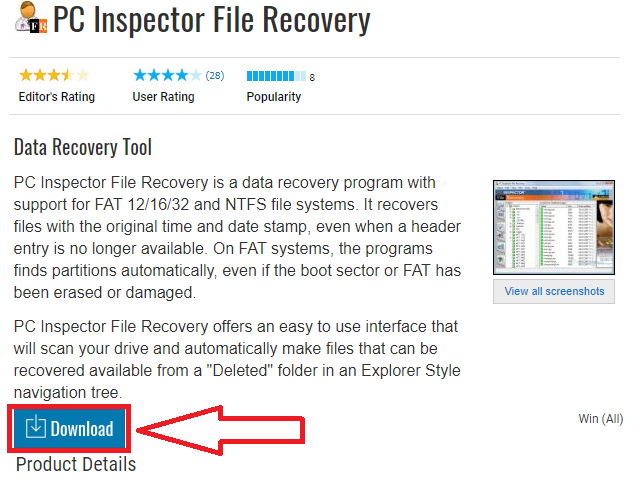
Another great free recovery tool to recover your data back. This software supports FAT 12/16/32 and NTFS file systems. PC Inspector offers latest updates to its recovery software that fix many issues, with the recent updates the recovery becomes advanced, smart, and easy. Let us quickly see why you must try PC Inspector File recovery.
- Automatically find partitions, even your boot sector has been erased.
- Recover files has original time and dates.
- Recover files, pictures, videos in all major platforms such as ARJ, AVI, BMP, DOC, DXF, XLS, EXE, GIF, HLP, HTML, JPG, LZH, MID, MOV, MP3, PDF, PNG, RTF, TAR, TIF, WAV and ZIP.
- Works well for Windows 10.
How to use PC Inspector File Recovery software?
Check out the quick tutorial to see how you can use PC Inspector file recovery tool to recover your data.
STEP 1: Download PC Inspector file recovery software, follow the steps and allow your PC to make changes.
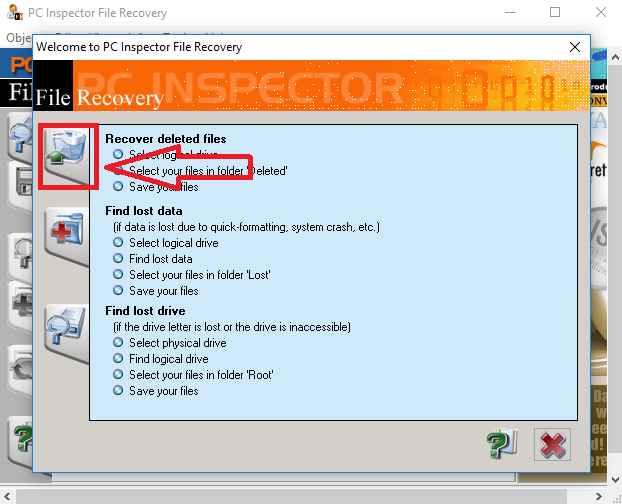
STEP 2: After successfully install, launch PC Inspector File Recovery software. This may ask to select a language. Now select the Scan drive button. Hold for a moment to scan the drives your PC have.
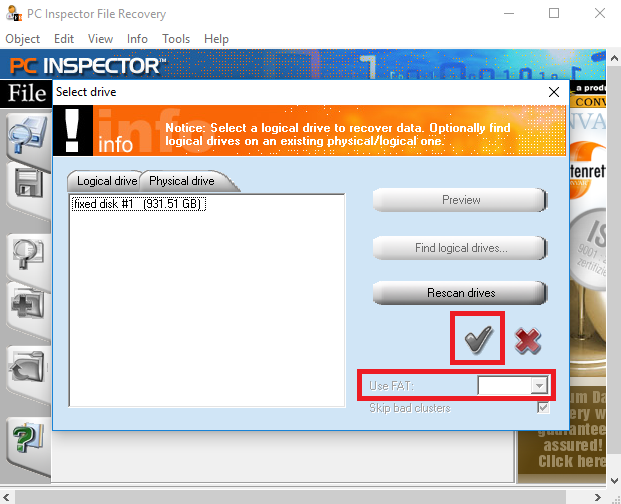
STEP 3: After scanning completes, select the drive where your lost data was present. And choose the FAT option by looking at your Drive properties. Now hit Tick button to start scanning your drive.
STEP 4: Once recovery completed, select your file you want to recover and click on Save icon, as said earlier you can not choose the same drive to save that file.
NOTE: You can not recover the data on the same drive where it exists, so you need to select other location to save the recovery file.
You are done! Check out the folder where you have saved your file.
3: Steller data recovery
Steller data recovery works well for both Windows and Mac. Steller data recovery software has a great user interface that recovers your data in one go and after recovery, you can see all your recover files and folder at the same place. And manually you can restore back to your PC or Mac. Check the quick feature of Steller data recovery.
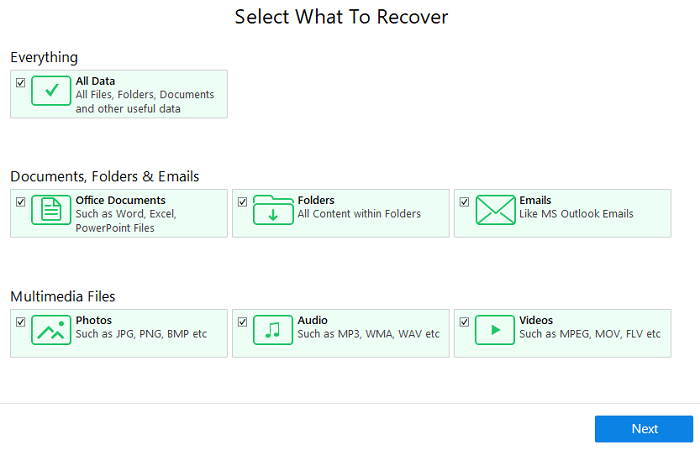
- Select what you want to recover, this software provides you a separate list of recovery option such as Office documents, files, folders, and other multimedia files. You can also select everything option to recover anything.
- Recover Deleted Email Files
- See Deleted Files Preview before Recovery
- Dig Deeper with the ‘Deep Scan’
How to use Steller Data Recovery software?
Follow some easy steps to retrieve your lost data using Steller Data recovery tool.
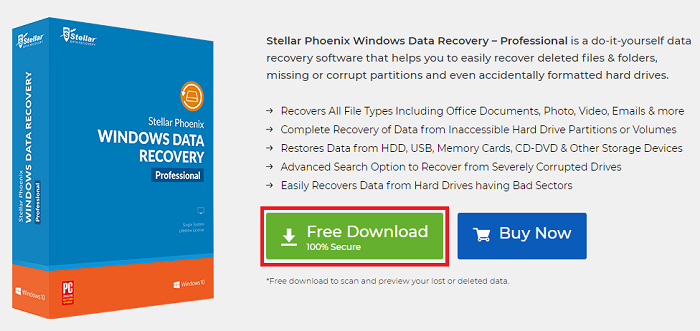
STEP 1: Download Steller Data Recovery software, launch it after successful installation.
STEP 2: Now the very first screen will be displayed asking for Select what to Recover, you can select individual options or Everything option to recover entire data. Hit Next button.
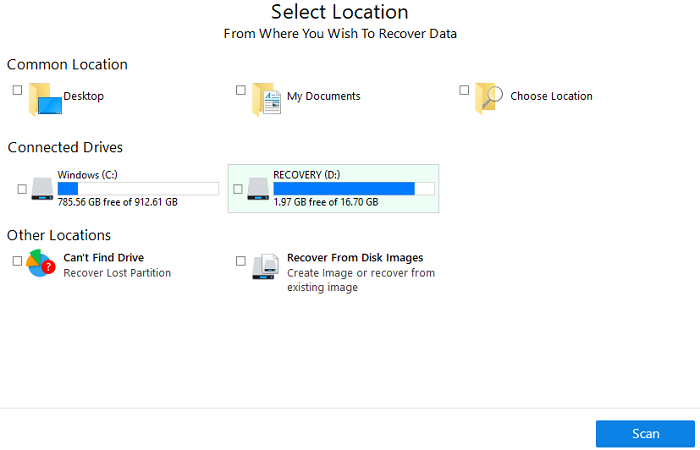
STEP 3: Now select the location where your deleted data was present and hit Scan button. You can choose more than one location if you are not sure where your data was actually present.
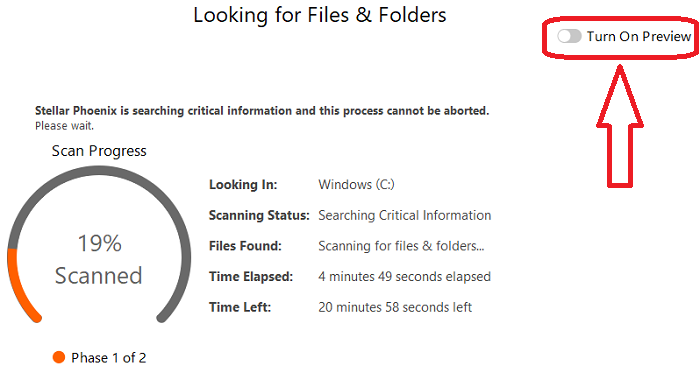
Hold for a moment to complete the scanning process. There is also an option to preview what data has been retrieved. Click on Turn on Preview. This may take longer time as the option of Deep Scan may be enabled, turn off this to get quick scan.
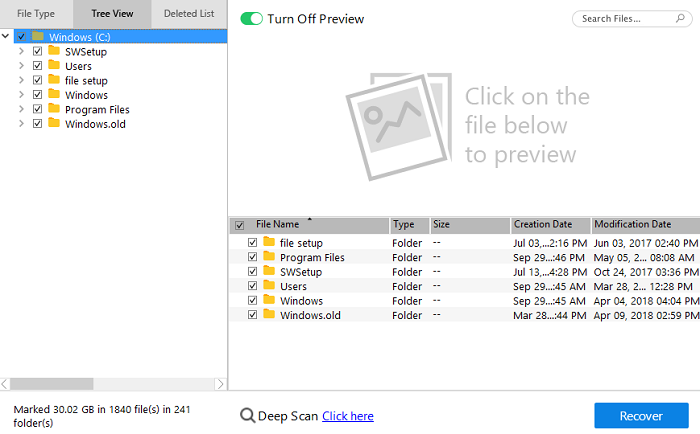
STEP 4: Once the scanning completed, you can individually select the file to preview on top and then select SAVE option to get back the required data on the location you choose.
That’s it! You have successfully recovered your lost file. See the location where you have chosen SAVE option and enjoy your stuff.
4: TestDisk
TestDisk is another great tool when comes to recovery. This software works well on Windows and Mac. TestDisk is basically designed to recover lost partitions and/or make non-booting disks bootable again.
Some quick features of TestDisk
- Recover and easy fix deleted partitions
- NTFS boot rebuild
- Works on all major platforms such as Windows, Mac, and others.
- Easy preview option before restoring your file to PC
- Recover data from all drives External hard drive, USB drive, memory cards.
How to use TestDisk Recovery tool?
STEP 1: Download TestDisk recovery tool and launch once installation process completes.

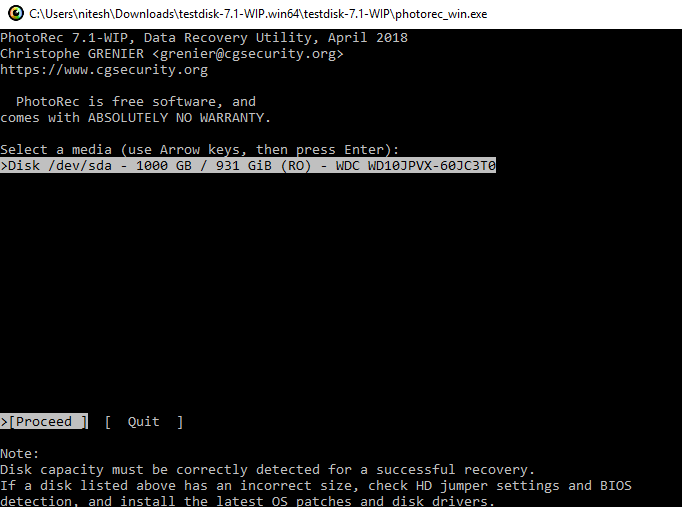
STEP 2: Now when you launch this from its home drive, it automatically starts scanning your PC drive. Select the media/ drive you want to scan (with arrows key).
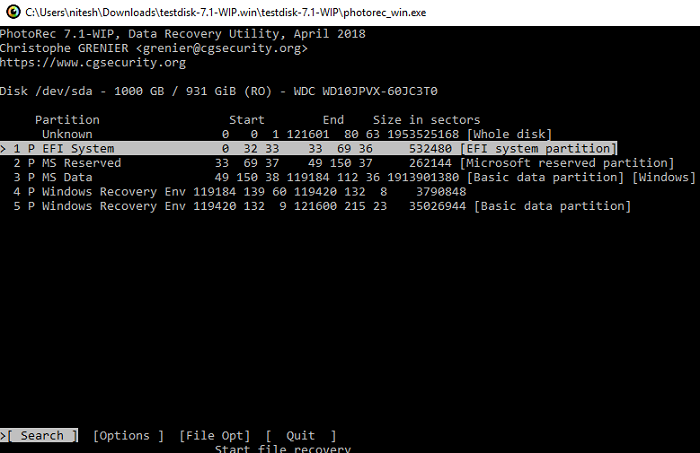
STEP 3: Proceed by clicking Enter key, now choose the partition you want to recover and then again hit Enter.
STEP 4: Now choose Others if you are working on Windows and choose ext2/ext3 if you are using Linux OS.
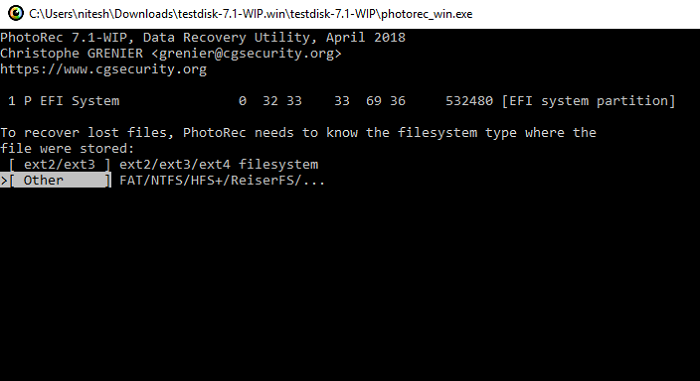
Once you hit Enter key, follow some other step and recover your lost data with TestDisk.
5: Undelete 360
When comes for recovery option software, Undelete 360 never left behind. This software has a great algorithm that works fast to scan the files that you wish to recover. Undelete 360 offers you to recover files from your hard drive, USB flash drive, floppy drive, recycle bin or any other corrupted file. You can restore all the files, pictures, videos affected by virus or other malware. You must try Undelete 360 to recover your lost data.
How to use Undelete 360 to recover data?
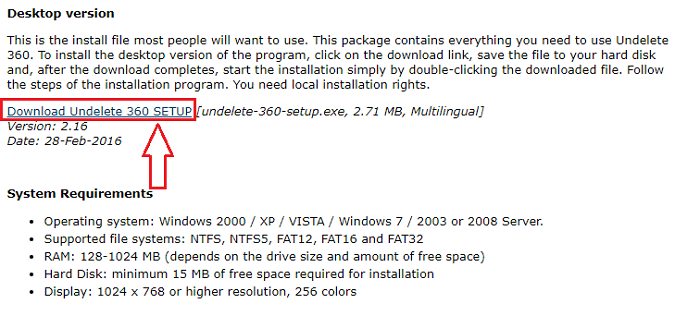
STEP 1: Download Undelete360, launch it after you have installed successfully.
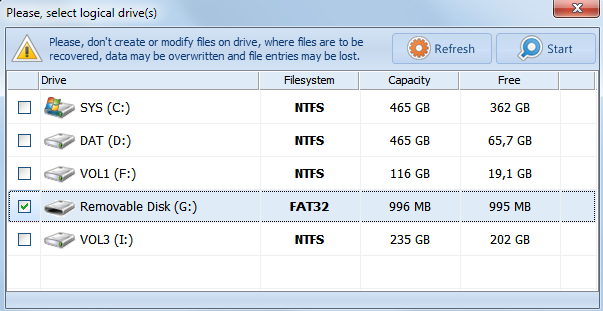
STEP 2: After launching Undelete360, choose the drive you want to recover your data. Click start button.
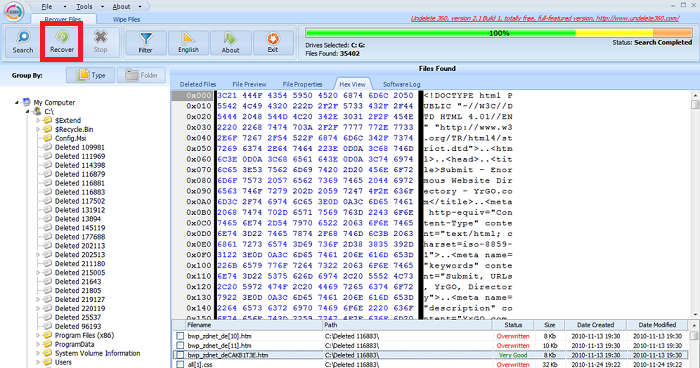
STEP 3: Now after the scanning completed, you can check the data you want to restore. Here you can also check the status of recovered data. This will show as Very good, Bad, and Overwritten.
STEP 4: Now your selected data starts saving on your PC, you can easily check where data is saving. See below screenshot.
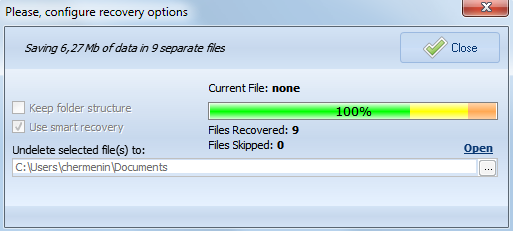
With these steps, you can easily recover your lost data. You can also check the amount of data you have restored.
Final Comments
The choice is yours! Above you have seen the best recovery tools to recover lost, corrupted data which may contain your picture, videos, files and much more. You can check the tutorial of all the recovery tools and on the basis of the ease of usage, you can choose. Personally, I recommend you to check out first recovery tool named RECUVA. This is one of the best free recovery tools you can have, all others are also good.
You may also like:
- How to recover lost Notepad files on Windows PC
- 2 best ways to restore corrupted Word File on Mac
- How to reset Windows 10 PC without disk installation
I hope you find this tutorial about Top Best Free Data Recovery Software. Keep in touch with us for more useful information on social media Facebook, Twitter.